随身wifi

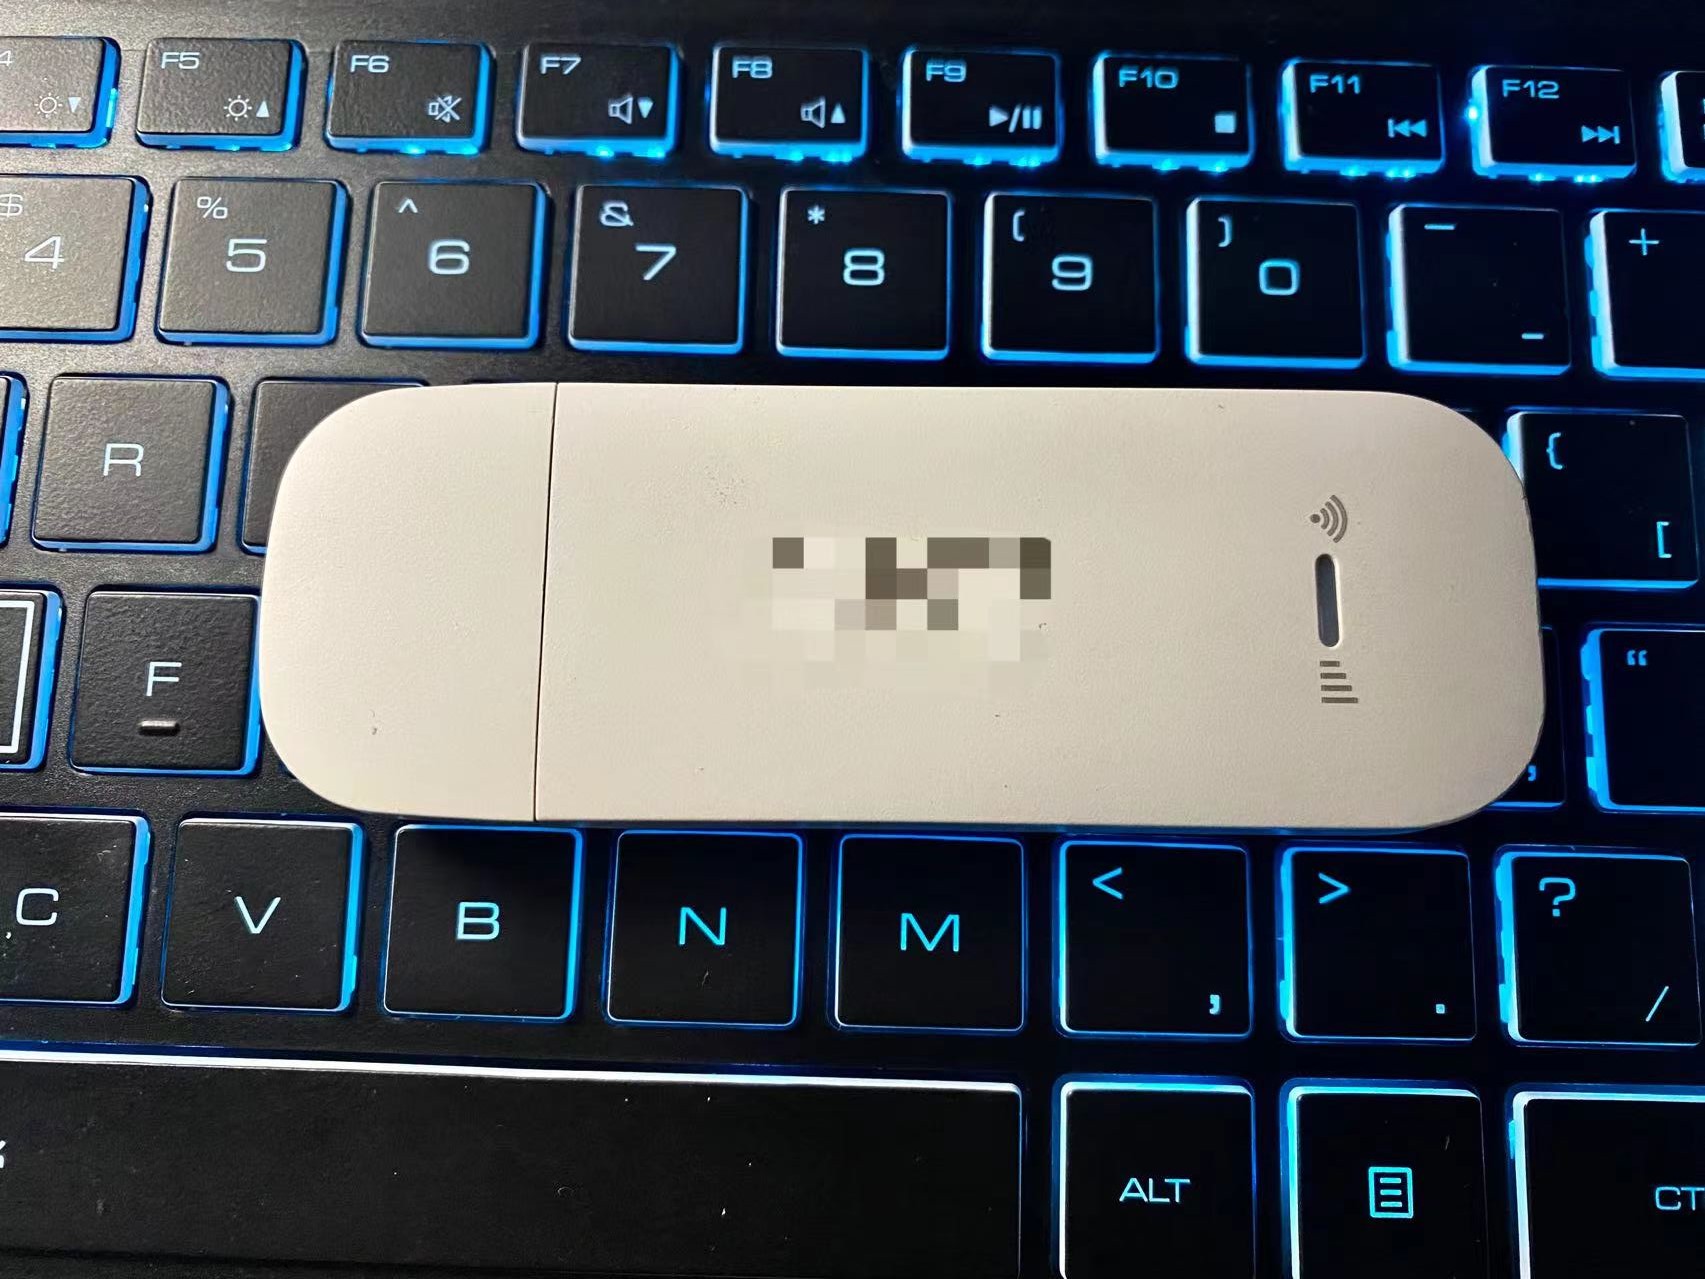
随身wifi网卡还能刷debian

配置为搭载高通骁龙410四核处理器 512MB[内存] 8GB的储存

开始

下载镜像

网站地址为

1
https://www.123pan.com/s/XwVDVv-WICn3

默认开启root登录,用户名:root,密码:1

  • 该版本默认是随身WIFI模式,开机后自动开启热点,名称:4G_UFI_123456,密码:12345678,并且会开机USB网络共享
    该版本可在随身WIFI和遥控车模式间切换,SSH登录到Debian系统,执行./ufi.sh,根据提示可切换模式和修改热点密码

2、为系统设置虚拟内存swapfile

  • 装了debian的几天里遇到好几次系统崩溃,表现状况为:

    1. ssh无法连接
    2. 并不会自动重启
    3. 设备ip仍然可以ping通(这个ip是zerotier软件生成组网的虚拟ip,说明软件还在运行中)
    4. 通过s-tui进行stress压力测试可以通过,cpu满载100%温度仍然可以再55℃内(已加装风扇)

总结:也可一建执行以下命令

  1. btrfs:

    1
    2
    3
    4
    5
    6
    7
    8
    9
    10
    11
    12
    13
    14
    15
    echo -e '\n\n\n\n\n\n\n\n\n\n####################################\n'
    touch /swapfile
    echo -e '1、创建swapfile文件完成\n\n'
    chattr +C /swapfile
    sudo btrfs property set /swapfile compression none
    echo -e '2、swapfile权限调整完成\n\n'
    sudo fallocate -l 512M /swapfile
    echo -e '3、swapfile大小调整为512M'
    sudo chmod 600 /swapfile
    sudo mkswap /swapfile
    sudo swapon /swapfile
    echo -e '\n\n4、swapfile完成激活!\n\n'
    echo -e '5、检查当前swap启用情况:\n'
    sudo swapon -s
    echo -e '\n####################################\n\n'

    默认为增加512M 可自行更改

  • 设置swapfile开机默认激活

  • ```Shell
    sudo sed -i ‘$a\n# 设置 Swap 内存交换空间优先值为 1\n/swapfile swap swap defaults,pri=1 0 0’ /etc/fstab

    1
    2
    3
    4
    5
    6

    ### 删除swapfile

    ```shell
    sudo swapoff /swapfile
    sudo rm /swapfile

3、更换Debian的软件源

1、先安装(我刷的包默认都是自带的)

1
apt install apt-transport-https ca-certificates

2、修改软件源:

1
sudo vim /etc/apt/sources.list

修改为以下内容(按i进入编辑,esc退出编辑,强制保存:wq!)

1
2
3
4
5
6
7
8
9
# 默认注释了源码镜像以提高 apt update 速度,如有需要可自行取消注释
deb https://mirrors.tuna.tsinghua.edu.cn/debian/ bullseye main contrib non-free
# deb-src https://mirrors.tuna.tsinghua.edu.cn/debian/ bullseye main contrib non-free
deb https://mirrors.tuna.tsinghua.edu.cn/debian/ bullseye-updates main contrib non-free
# deb-src https://mirrors.tuna.tsinghua.edu.cn/debian/ bullseye-updates main contrib non-free
deb https://mirrors.tuna.tsinghua.edu.cn/debian/ bullseye-backports main contrib non-free
# deb-src https://mirrors.tuna.tsinghua.edu.cn/debian/ bullseye-backports main contrib non-free
deb https://mirrors.tuna.tsinghua.edu.cn/debian-security bullseye-security main contrib non-free
# deb-src https://mirrors.tuna.tsinghua.edu.cn/debian-security bullseye-security main contrib non-free

更新源AdoptOpenJDK报错的解决方法:

参考文章:https://www.atray.cn/2022/07/21/84.html

  • 1、报错原因:

  • 在更新源的时候出现了一个报错 http://mirrors.tuna.tsinghua.edu.cn/AdoptOpenJDK/deb buster Release” 不再含有 Release 文件,经查阅清华源的通知得知上游 AdoptOpenJDK 已经更名为 Adoptium,具体情况查看# 关于重命名 AdoptOpenJDK 镜像为 Adoptium 的通知

2、执行 :

1
2
3
sudo sed -i '1c deb http://mirrors.tuna.tsinghua.edu.cn/Adoptium/deb buster main' /etc/apt/sources.list.d/AdoptOpenJDK.list
gpg --keyserver hkp://keyserver.ubuntu.com:80 --recv-keys 843C48A565F8F04B
sudo gpg --armor --export 843C48A565F8F04B | sudo apt-key add -

更新源Mobian报错

1、另外mobian源暂时也用不了了,没找到解决的方案,只能暂时先禁用掉

2、执行命令:

1
sudo sed -i '1c #deb http://repo.mobian-project.org/ bullseye main non-free'  /etc/apt/sources.list.d/mobian.list

更新源指令

应该不会再报错了:

1
sudo apt-get update

顺手可以将系统软件都更新到最新:

1
sudo apt-get upgrade

【总结】一键执行以下命令即可

1
2
3
4
5
6
7
8
9
10
11
12
13
14
15
16
17
18
19
20
21
echo -e '\n\n\n\n\n\n\n\n\n\n####################################\n'
sudo rm /etc/apt/sources.list
sudo touch /etc/apt/sources.list
sudo echo -e "# 默认注释了源码镜像以提高 apt update 速度,如有需要可自行取消注释\n\ndeb https://mirrors.tuna.tsinghua.edu.cn/debian/ bullseye main contrib non-free\n# deb-src https://mirrors.tuna.tsinghua.edu.cn/debian/ bullseye main contrib non-free\n\ndeb https://mirrors.tuna.tsinghua.edu.cn/debian/ bullseye-updates main contrib non-free\n# deb-src https://mirrors.tuna.tsinghua.edu.cn/debian/ bullseye-updates main contrib non-free\n\ndeb https://mirrors.tuna.tsinghua.edu.cn/debian/ bullseye-backports main contrib non-free\n# deb-src https://mirrors.tuna.tsinghua.edu.cn/debian/ bullseye-backports main contrib non-free\n\ndeb https://mirrors.tuna.tsinghua.edu.cn/debian-security bullseye-security main contrib non-free\n# deb-src https://mirrors.tuna.tsinghua.edu.cn/debian-security bullseye-security main contrib non-free" >> /etc/apt/sources.list
echo -e '1、默认软件源修改完成!\n\n'
sudo sed -i '1c deb http://mirrors.tuna.tsinghua.edu.cn/Adoptium/deb buster main' /etc/apt/sources.list.d/AdoptOpenJDK.list
gpg --keyserver hkp://keyserver.ubuntu.com:80 --recv-keys 843C48A565F8F04B
sudo gpg --armor --export 843C48A565F8F04B | sudo apt-key add -
echo -e '\n\n2、AdoptOpenJDK报错修复完成!\n\n'
sudo sed -i '1c #deb http://repo.mobian-project.org/ bullseye main non-free' /etc/apt/sources.list.d/mobian.list
echo -e '3、Mobian源报错已屏蔽!'
echo -e '\n\n####################################\n\n即将开始更新软件源list......\n'
sleep 2
sudo apt-get update
echo -e '\n\n4、更新软件源list更新完成!'
echo -e '\n\n####################################\n\n即将开始升级系统程序至最新版......'
sleep 2
sudo apt-mark hold openssh-server
sudo apt-get -y upgrade
sudo apt-mark unhold openssh-server
echo -e '\n\n5、系统程序更新完成!\n\n####################################\n\n\n\n'

4、python的环境修复

python环境检测

1、我安装好之后python3是不能用的,检验的办法如下,

1
python3 --version

2、截止20220809版本为3.9.2,如果输出版本号则正常,否则按下面方法重装

Python重装方法

1、更新源:

1
sudo apt-get update

2、先卸载:

1
sudo apt-get --purge remove  python3

3、然后我又把没用的依赖全都卸载了:

1
sudo apt-get autoremove

4、再重新安装:

1
sudo apt install python3 python3-pip python-is-python2

5、到这里应该就正常了,可以重新验证下

【总结】一键执行以下命令即可

1
2
3
4
5
6
7
8
9
10
11
12
echo -e '\n\n\n\n\n\n\n\n\n\n####################################\n\n安装时间较长,请耐心等候!'
echo -e '\n即将开始安装......\n\n'
sleep 5
sudo apt-get update
sudo apt-get --purge -y remove python3 python3-pip python-is-python2
sudo apt-get autoremove -y
sudo apt install -y python3 python3-pip python-is-python2
echo -e '\n\n####################################\n'
echo -e '尝试获取当前系统安装的python版本号......\n'
python3 --version
echo -e '\n\n\n恭喜你,python环境重新安装完成!'
echo -e '\n####################################\n\n\n'

5、 安装docker及管理面板

安装docker环境

  1. 切换root:
1
sudo -i
  1. 更新源:
1
sudo apt-get update
  1. 安装工具:
1
sudo apt-get install curl wget apt-transport-https  ca-certificates gnupg2 software-properties-common
  1. 添加 Docker 的官方 GPG 密钥:
1
curl -fsSL https://mirrors.ustc.edu.cn/docker-ce/linux/debian/gpg | sudo apt-key add -
  1. 先卸载残留:
1
sudo apt-get remove docker docker-engine docker.io containerd runc
  1. 自动安装docker:
1
curl -fsSL https://get.docker.com | bash -s docker --mirror Aliyun 
  1. docker切换为国内源:
1
sudo echo '{"registry-mirrors": ["https://alzgoonw.mirror.aliyuncs.com"]}' > /etc/docker/daemon.json
  1. 查看下是否添加成功,成功会有一行源的信息
1
cat /etc/docker/daemon.json
  1. 更新下配置并且重启:
1
systemctl restart docker && systemctl status docker && reboot
  1. 重启后再次连接ssh,输入:docker --version 或者sudo docker version,查看当前的docker安装状态

【总结】一键安装命令

1
2
3
4
5
6
7
8
9
10
11
12
13
echo -e '\n\n\n\n\n\n\n\n\n\n####################################\n\n安装时间较长,预计耗时10min左右,请耐心等候!'
echo -e '\n即将开始安装......\n\n'
sleep 5
sudo apt-get update
sudo apt-get -y install curl wget apt-transport-https ca-certificates gnupg2 software-properties-common
curl -fsSL https://mirrors.ustc.edu.cn/docker-ce/linux/debian/gpg | sudo apt-key add -
sudo apt-get -y --purge remove docker docker-engine docker.io containerd runc
curl -fsSL https://get.docker.com | bash -s docker --mirror Aliyun
sudo echo '{"registry-mirrors": ["https://alzgoonw.mirror.aliyuncs.com"]}' > /etc/docker/daemon.json
systemctl restart docker && systemctl status docker
echo -e '\n\n####################################\n\n恭喜你,Docker安装完成,即将重启......\n\n'
sleep 5
systemctl reboot